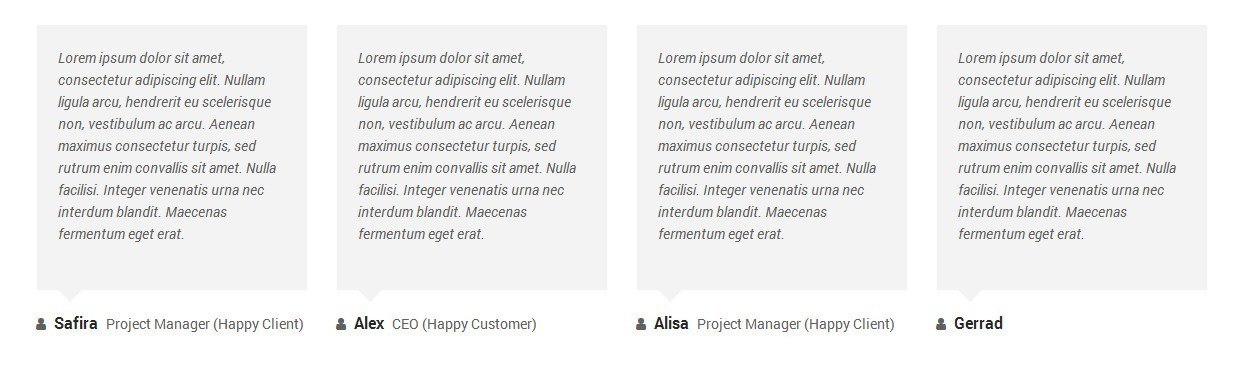
- Testimonial Rotator:
-
[testimonials-rotator show="3"]

- Testimonial Box:
-
[testimonials-box col="4" show="4"]
[testimonials-box col="3" show="3"]
[testimonials-box col="2" show="2"]
[testimonials-box col="1" show="1"]
- Our Team:
-
[ourteam show="4"]

- Services:
-
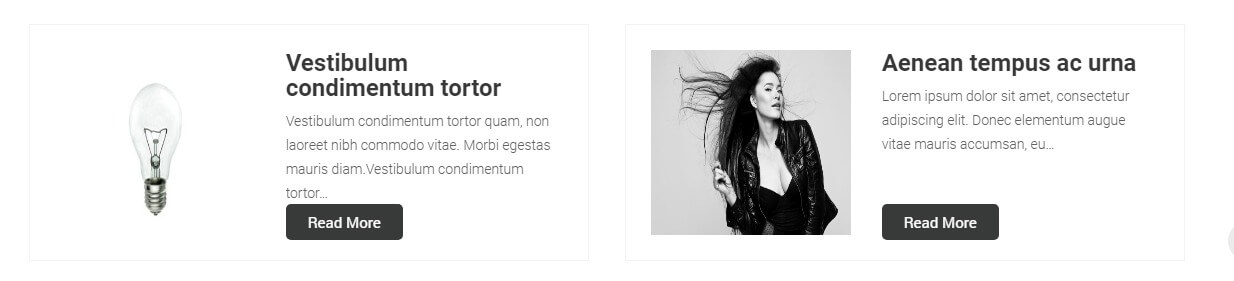
[service pattern="boxpattern-1" image="ADD IMAGE URL HERE" title="Financial Planning" readmore="" url="#"]Quisque pellentesque neque vitae metus convallis, et faucibus diam hendrerit.[/service]
-
[service pattern="boxpattern-2" image="ADD IMAGE URL HERE" title="Financial Planning" readmore="" url="#"]Quisque pellentesque neque vitae metus convallis, et faucibus diam hendrerit.[/service]
-
[service pattern="boxpattern-3" image="ADD IMAGE URL HERE" title="Financial Planning" readmore="" url="#"]Quisque pellentesque neque vitae metus convallis, et faucibus diam hendrerit.[/service]
-
[service pattern="boxpattern-4" image="ADD IMAGE URL HERE" title="Financial Planning" readmore="" url="#"]Quisque pellentesque neque vitae metus convallis, et faucibus diam hendrerit.[/service]
- Clear:
-
[clear]
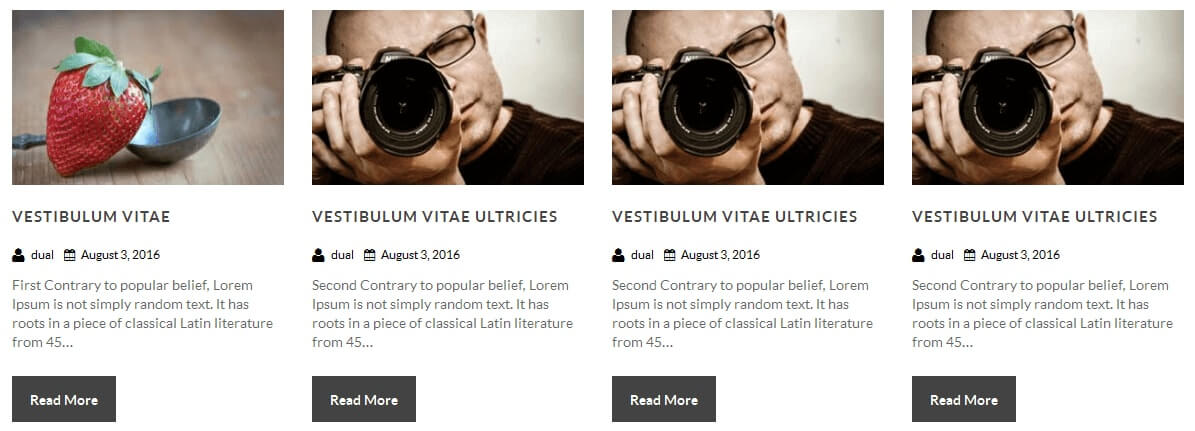
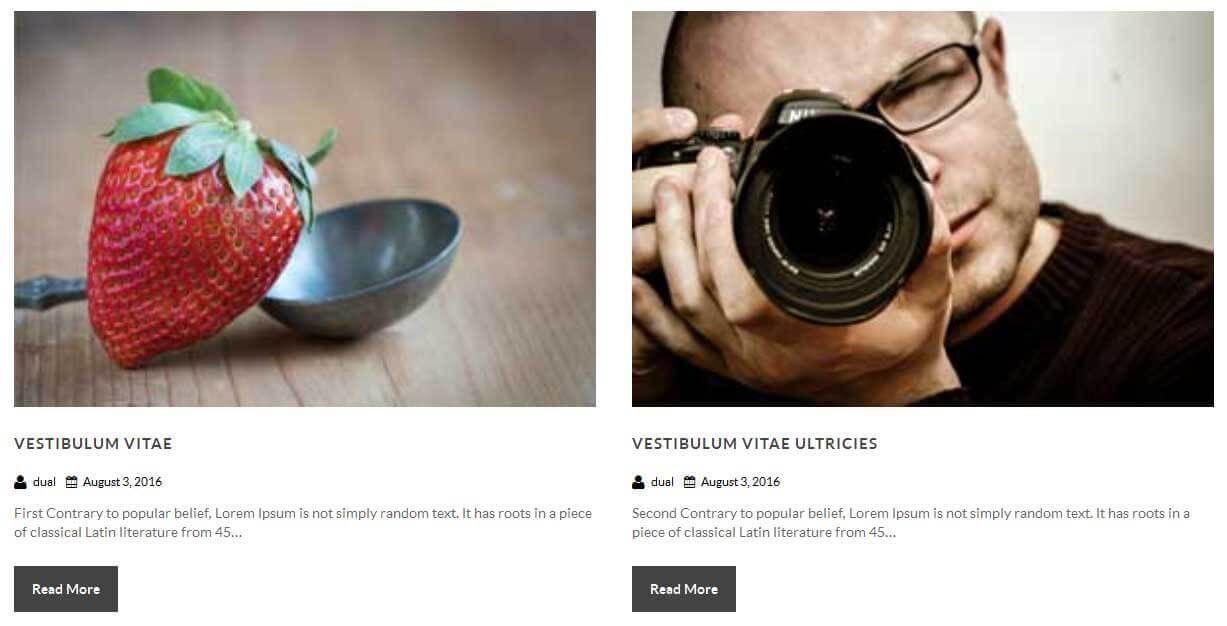
- Photo Gallery:
-
[photogallery filter="true"]

- Show Without Filters Use Shortcode : [photogallery filter="false"]
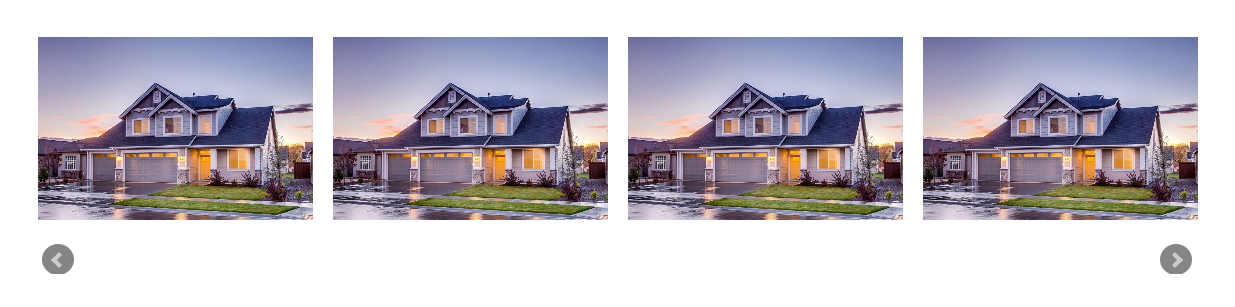
- Photo Gallery Carousel:
-
[gallery-carousel]
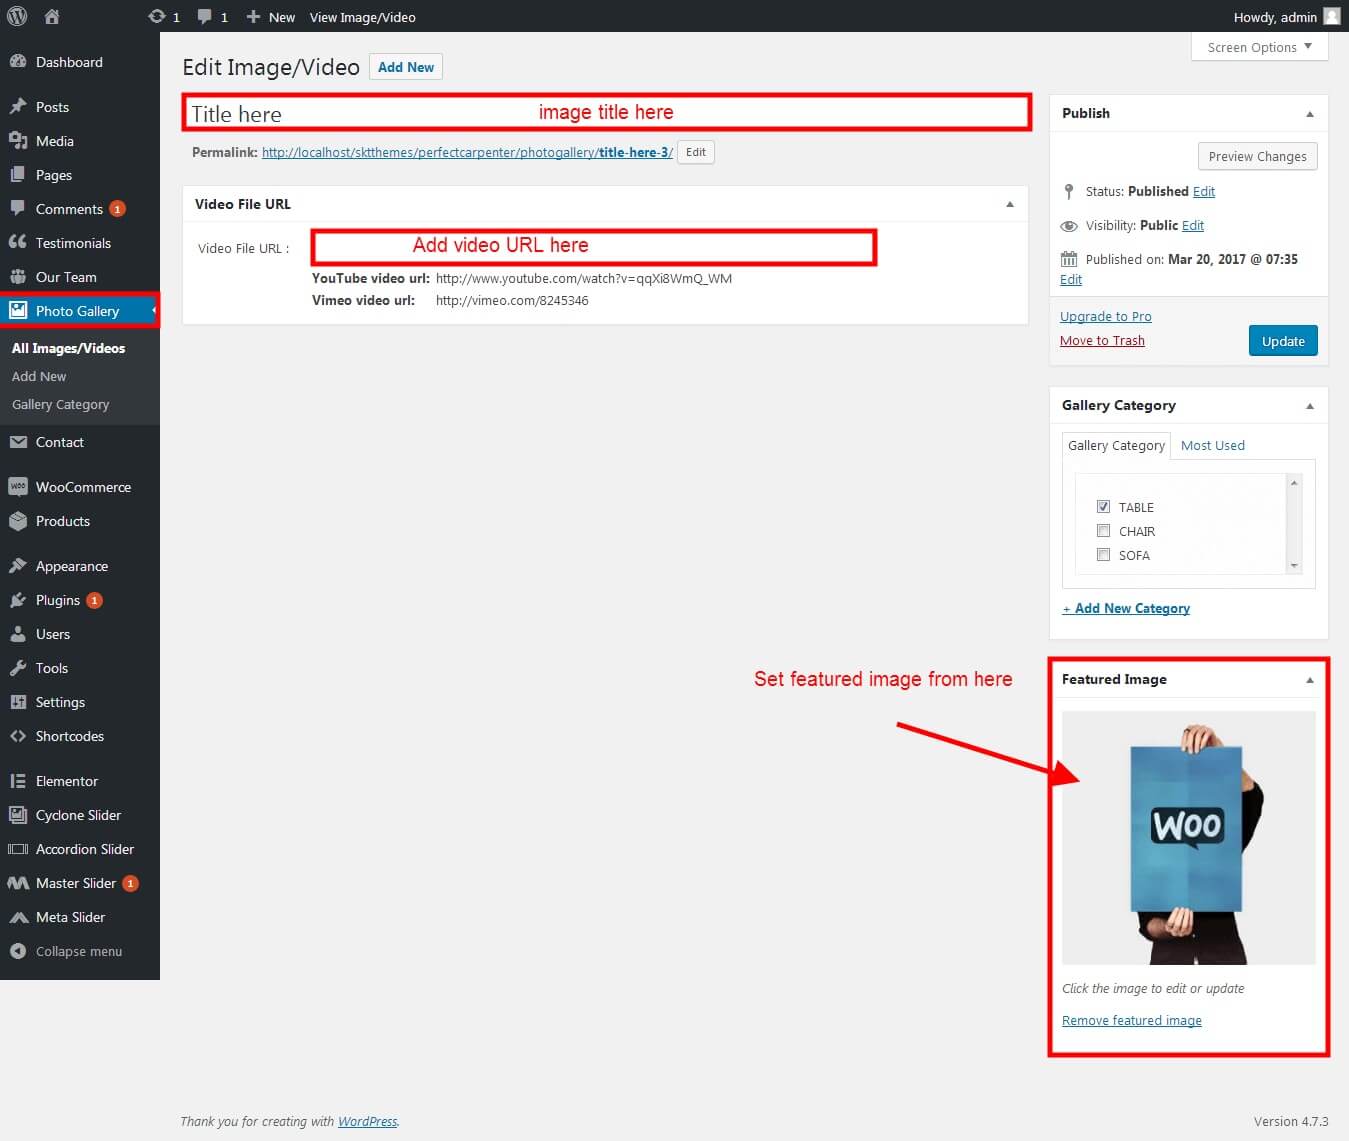
- 1. To set up a gallery go to Photo Gallery option from you WordPress dashboard
- 2. Click on Add New option
- 3. Enter the title of the image. If you want to show Video then add video URL. For image set the featured image.
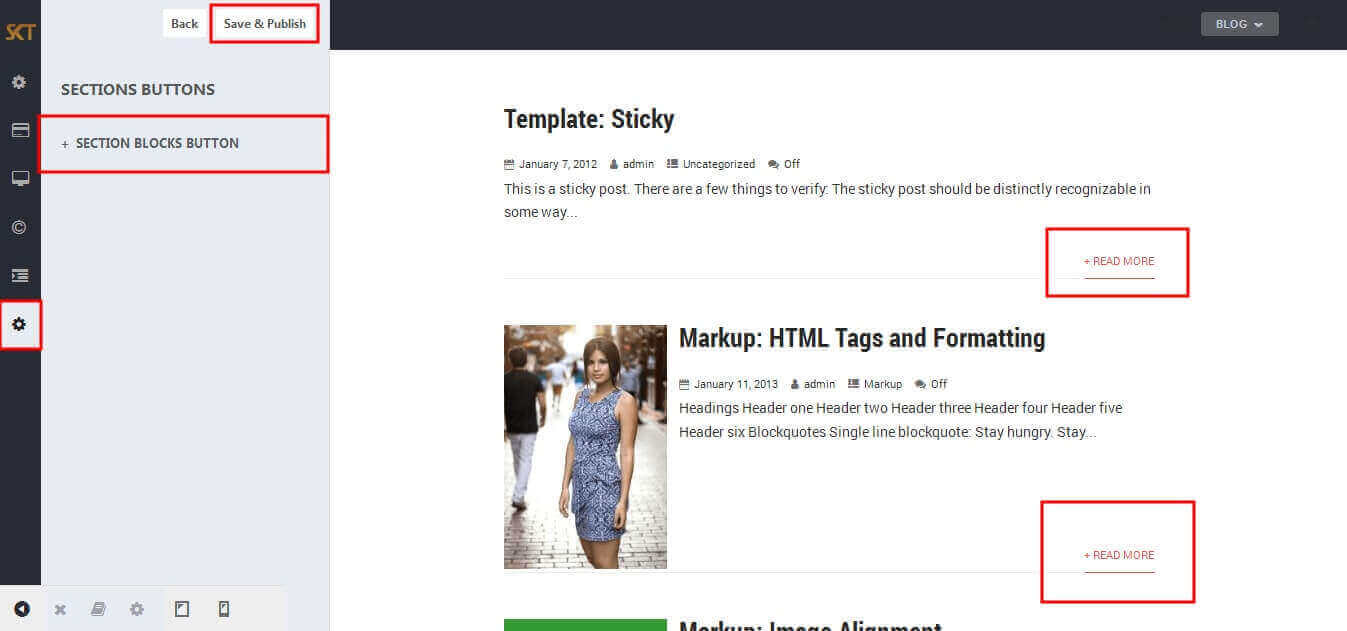
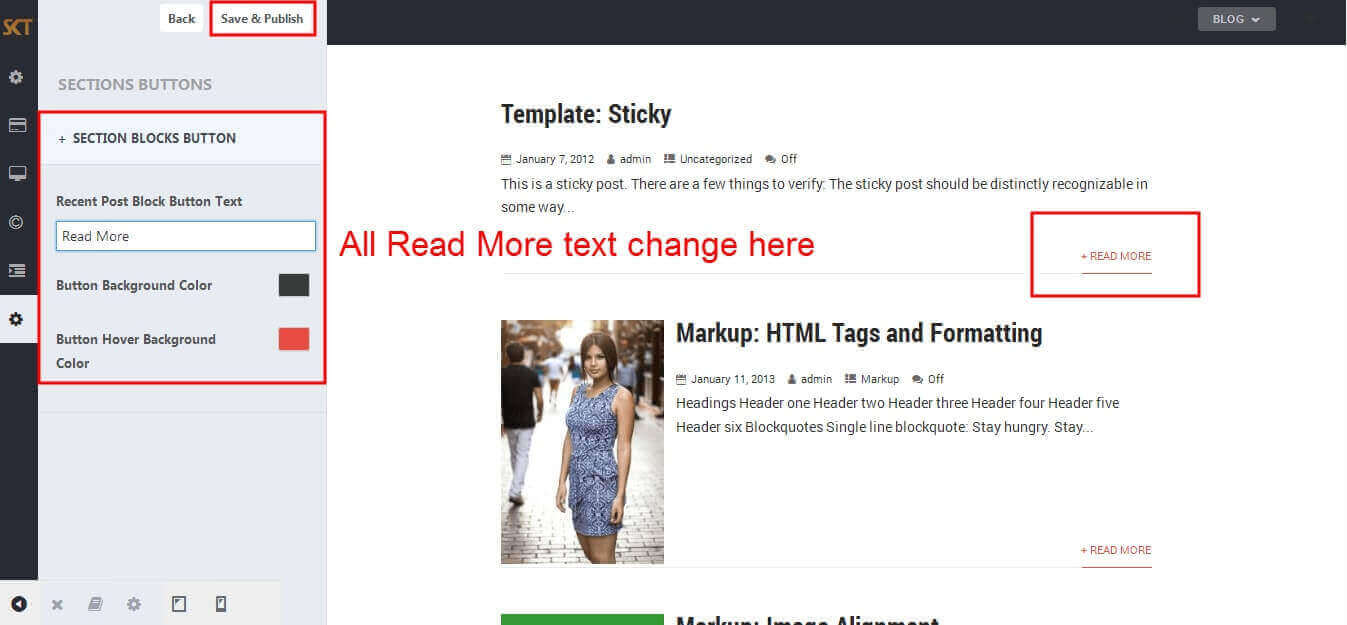
- Recent Posts:
-
[posts-style1 show="4" cat="1" excerptlength="24"]
"show=4" means display four posts if you want to display 6 or 8 or etc. so just change show=6 or show=8. and "excerptlength=24" set box character length. and "cat=1" ID of display posts category
-
[posts-style2 show="2" cat="1" excerptlength="24"]
"show=2" means display two posts if you want to display 4 or 6 or etc. so just change show=4 or show=6. and "excerptlength=24" set box character length. and "cat=1" ID of display posts category
-
[posts-style3 show="2" cat="" excerptlength="15"]
"show=2" means display two posts if you want to display 4 or 6 or etc. so just change show=4 or show=6. and "excerptlength=24" set box character length. and "cat=1" ID of display posts category
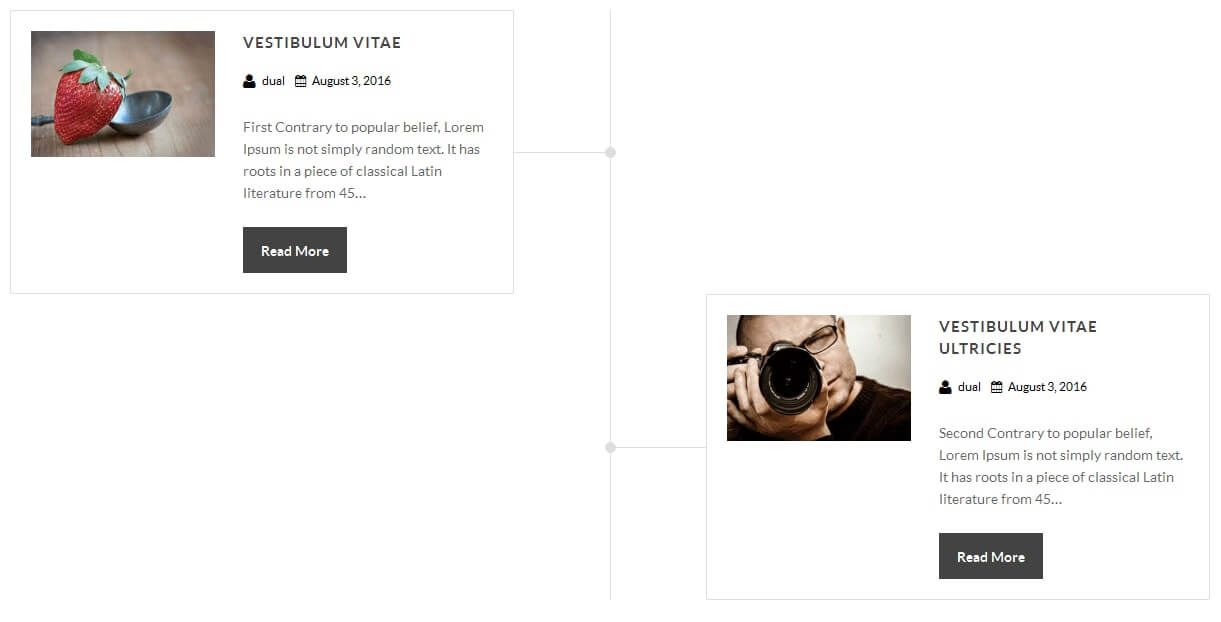
- Post Timeline:
-
[posts-timeline show="4" cat="1" excerptlength="24"]
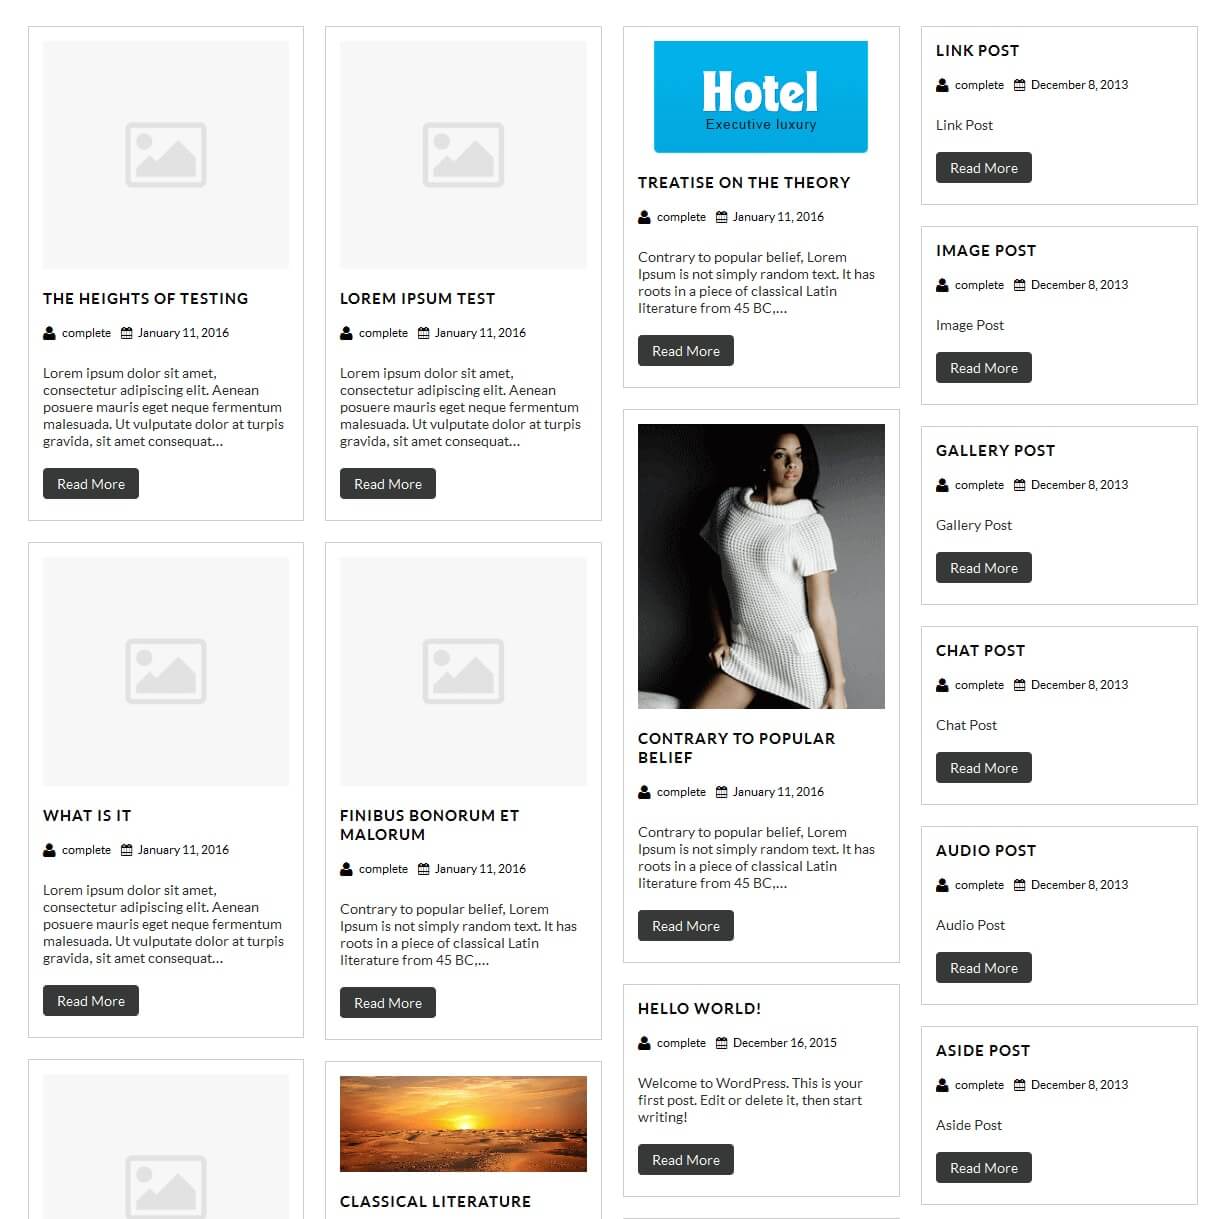
- Post Grid:
-
[posts-grid show="4" cat="1" excerptlength="24"]
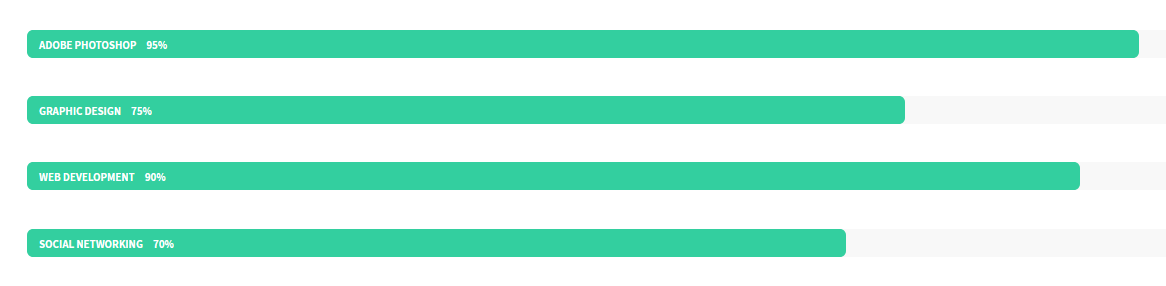
- Skill:
-
[skill title="HTML" percent="80" bgcolor="#a0ce4e"][skill title="Wordpress" percent="99" bgcolor="#a0ce4e"][skill title="Web Design" percent="90" bgcolor="#a0ce4e"][skill title="Web Development" percent="95" bgcolor="#a0ce4e"][skill title="Responsive" percent="85" bgcolor="#a0ce4e"]
- Clients
-
[client url="#" image="image url"]

- Social Icons
-
[social_area]
    [social icon="facebook" link="#"]
    [social icon="twitter" link="#"]
    [social icon="google-plus" link="#"]
    [social icon="linkedin" link="#"]
    [social icon="pinterest" link="#"]
[/social_area]

- Flip Box
- Horizontal Flip:
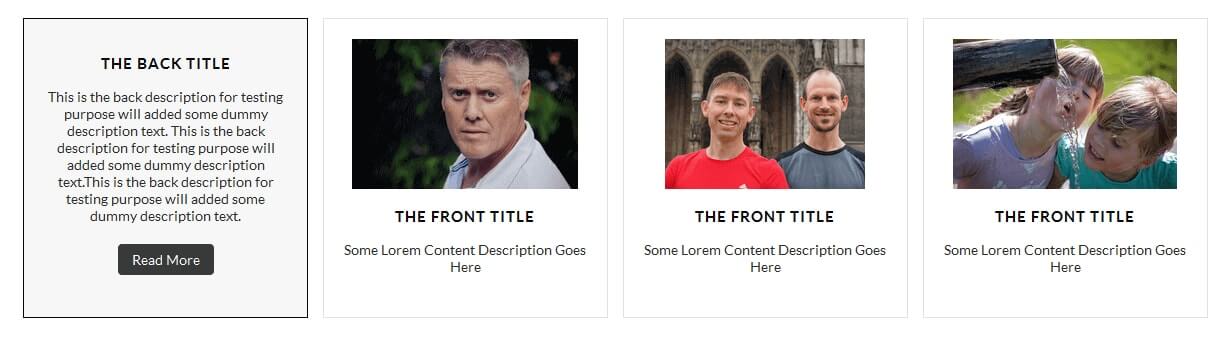
[flipbox fliptype="h" frontimage="http://www.yoursite.com/wp-content/themes/natural-herbs/images/model-429733_640.jpg" fronttitle="The Front Title" frontdescription="Some Lorem Content Description Goes Here" backtitle="The Back Title" backdescription="This is the back description for testing purpose will added some dummy description text. This is the back description for testing purpose will added some dummy description text.This is the back description for testing purpose will added some dummy description text." backurl="#" backbutton="Read More"]
- Vertical Flip:
[flipbox fliptype="v" frontimage="http://www.yoursite.com/wp-content/themes/natural-herbs/images/person-822552_1280.jpg" fronttitle="The Front Title" frontdescription="Some Lorem Content Description Goes Here" backtitle="The Back Title" backdescription="This is the back description for testing purpose will added some dummy description text. This is the back description for testing purpose will added some dummy description text.This is the back description for testing purpose will added some dummy description text." backurl="#" backbutton="Read Now"]
- Dividers:
-
[divider style="divider1"]

-
[divider style="divider2"]

-
[divider style="divider3"]

-
[divider style="divider4"]

-
[divider style="divider5"]

-
[divider style="divider6"]

-
[headingdivider text="Heading Title"]

- Promotion Box:
-
[promobox1 bgcolor="#f7f7f7" topbordercolor="#a0ce4e" otherbordercolor="#e8e6e6"]Lorem ipsum dolor sit amet, consectetur adipiscing elit, sed do eiusmod tempor incididunt ut labore et dolore magna aliqua. Ut enim ad minim veniam, quis nostrud exercitation ullamco laboris nisi ut aliquip ex ea commodo consequat. Duis aute irure dolor in reprehenderit in voluptate velit esse cillum dolore eu fugiat nulla pariatur. Excepteur sint occaecat cupidatat non proident, sunt in culpa qui officia deserunt mollit anim id est laborum.[/promobox1]

-
[promobox2 bgcolor="#f7f7f7" leftbordercolor="#a0ce4e" button="Hello Text" url="#"]Lorem ipsum dolor sit amet, consectetur adipiscing elit, sed do eiusmod tempor incididunt ut labore et dolore magna aliqua. Ut enim ad minim veniam, quis nostrud exercitation ullamco laboris nisi ut aliquip ex ea commodo consequat. Duis aute irure dolor in reprehenderit in voluptate velit esse cillum dolore eu fugiat nulla pariatur. Excepteur sint occaecat cupidatat non proident, sunt in culpa qui officia deserunt mollit anim id est laborum.[/promobox2]

-
[promobox3 bgcolor="#f7f7f7" bottombordercolor="#a0ce4e" button="Hello Text" url="#"]Lorem ipsum dolor sit amet, consectetur adipiscing elit, sed do eiusmod tempor incididunt ut labore et dolore magna aliqua. Ut enim ad minim veniam, quis nostrud exercitation ullamco laboris nisi ut aliquip ex ea commodo consequat. Duis aute irure dolor in reprehenderit in voluptate velit esse cillum dolore eu fugiat nulla pariatur. Excepteur sint occaecat cupidatat non proident, sunt in culpa qui officia deserunt mollit anim id est laborum.[/promobox3]

-
[promobox4 bgcolor="#f7f7f7" bordercolor="#a0ce4e"]Lorem ipsum dolor sit amet, consectetur adipiscing elit, sed do eiusmod tempor incididunt ut labore et dolore magna aliqua. Ut enim ad minim veniam, quis nostrud exercitation ullamco laboris nisi ut aliquip ex ea commodo consequat. Duis aute irure dolor in reprehenderit in voluptate velit esse cillum dolore eu fugiat nulla pariatur. Excepteur sint occaecat cupidatat non proident, sunt in culpa qui officia deserunt mollit anim id est laborum.[/promobox4]

-
[squarebox image="image" title="title" url="#" target="blank"]
-
[ourteamexpanded show="4"]

-
[perfectbox image="image" title="title" description="description" url="#" target="blank"]
-
[blockbox url="url" image="image" title="title" titlecolor="titlecolor" target="self"]
-
[headingseperator text="text"]

-
[boxthumb name="name" url="#" image="image" target="blank"]